Thursday, December 29, 2011

Cinnamon Rolls!

So this year I’ve decided to start a Christmas morning tradition.  Fresh yeast cinnamon rolls.  In my mind there really is nothing like a good  hot cinnamon roll right out of the oven.  After playing around with a couple of recipes, I've found that this one makes an almost perfect cinnamon roll.  Soft and fluffy with an ooey-gooey center with a nice not too-sweet frosting on top.


For the dough :

1 tablespoon instant yeast
1 cup warm milk (about 105⁰)
½ cup sugar
1 teaspoon salt
2 eggs + 1 yolk
1/3 cup melted butter
4 cups of all purpose flour

For the filling :

½ cup packed brown sugar
½ cup packed dark brown sugar
3 teaspoons cinnamon
½ cup butter (melted)

For the icing :

8 tablespoon butter (softened)
1 ½ cups of powdered sugar
½ cup cream cheese
1 ½ teaspoon vanilla extract
Pinch salt

Process:

Begin by dissolving the sugar, yeast and salt in the warm milk.  Allow this to set for about 5 minutes, this gives the yeast a minute or two to come back to life.


Blend your eggs and butter into the milk mixture.

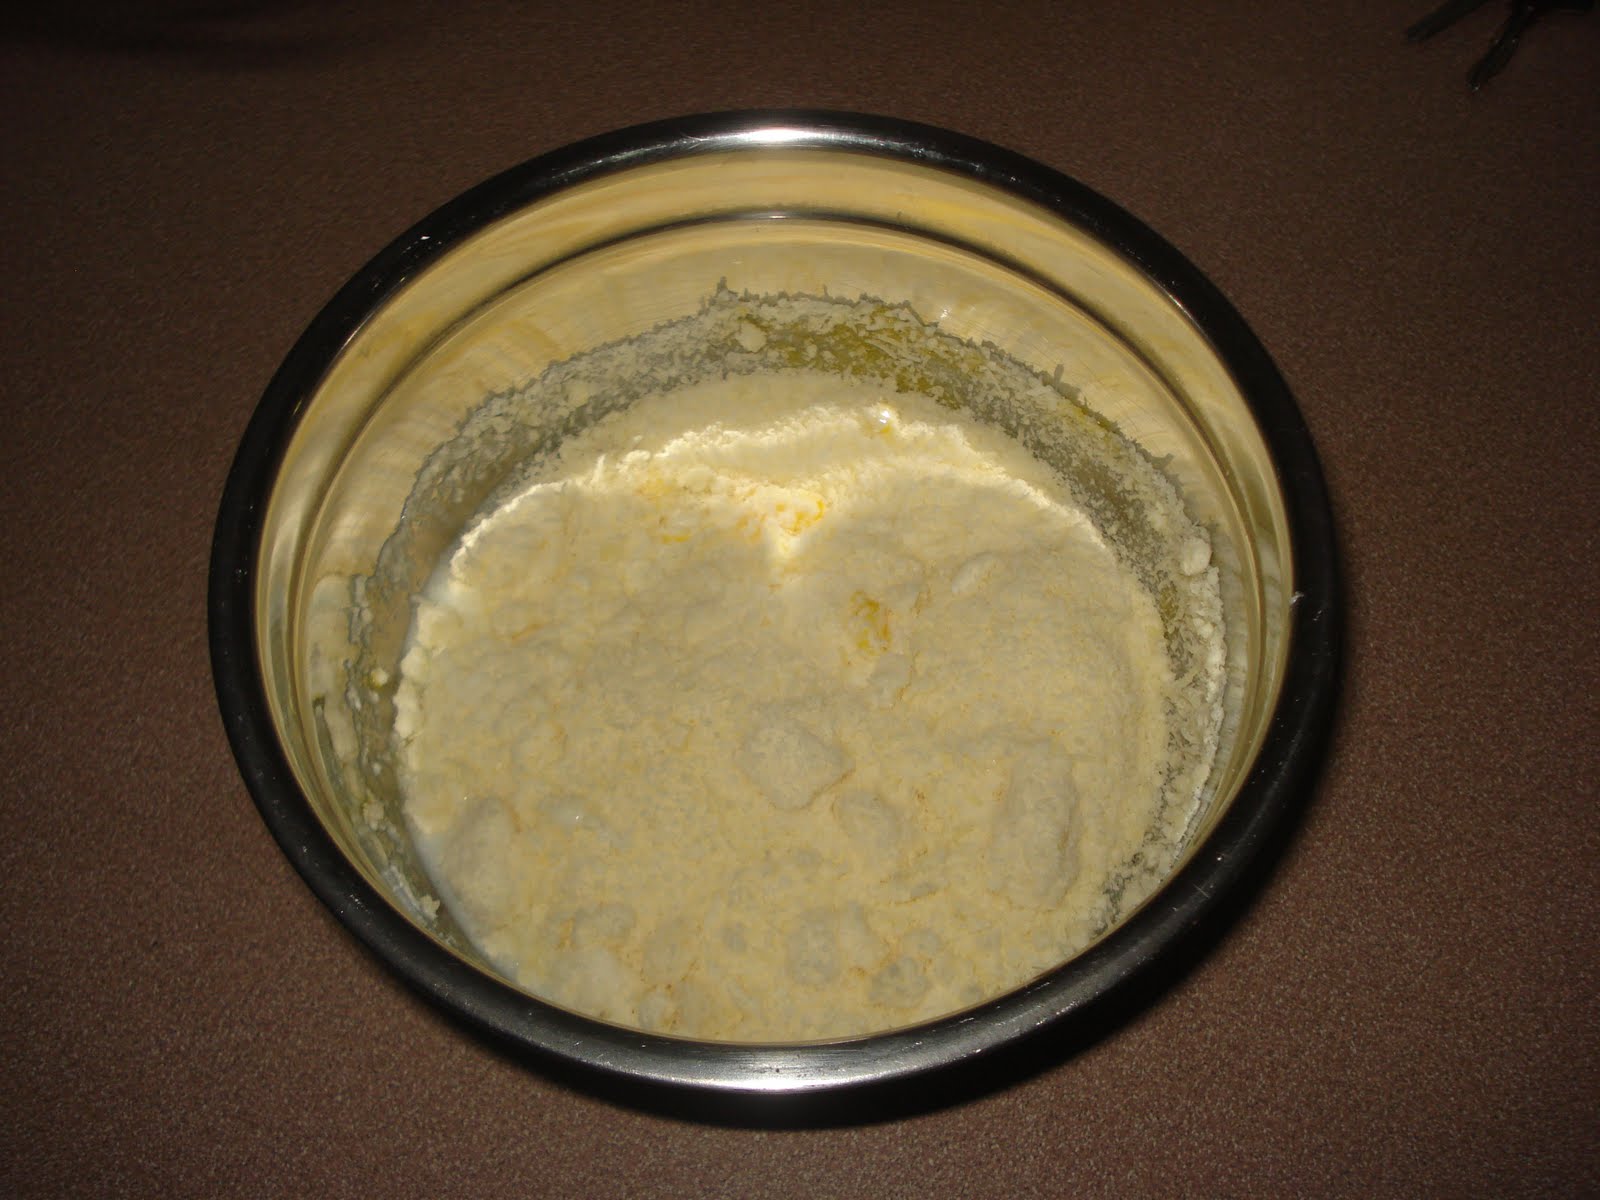
Slowly add the flour 1 cup at a time until a nice dough begins to form. 

Once all ingredients are combined, knead thoroughly on a floured surface for approximately 5 minutes or until the dough is smooth and firm.

Place in a greased bowl, cover with a damp cloth and allow to rise until the size has doubled (approx. 1 – 2 hours, the cooler your kitchen the longer your rise times)

Mix the brown sugars and cinnamon and put them to the side.

Once the dough is ready, punch it down and roll it out into a rectangle that is approximately ¼ of an inch thick.

Take the dough and rub the melted butter all over, next sprinkle the brown sugar and cinnamon mixture all over and massage it into the dough.


Now we roll!  Take the longest edge of the rectangle and begin rolling it tightly up, try to leave as little space 
as possible between the layers of the dough.


Once you have rolled the dough into a nice little spiral; slice it into 1 ½ inch slices, take the slices and place them on to a parchment paper lined baking sheet.


Cover with a warm damp cloth and allow rolls to rise for an additional hour.


Preheat oven to 400°.


Once the rolls have doubled in size place in the oven and bake until the tops begin to lightly brown.

Icing!

While the cinnamon rolls are baking; cream butter, cream cheese, vanilla and salt with your mixer.  Once that is smooth slowly add your powdered sugar and whip until it becomes fluffy.


Frost the rolls as soon as they come out of the oven and try to wait at least five minutes for them to cool down before you eat one.  I will not be held responsible for burnt mouths!


Enjoy!  


Friday, October 7, 2011

Sausage and Cheese Kolaches


So after an extended summer hiatus, I’m back online and ready to post a few new recipes I’ve been playing around with.

Since we’ve been here in Kazakhstan, I’ve decided to try my hand at some baking.  I’ve never baked many yeast breads.  But now that I’ve begun to use yeast, I’m hooked.  I would say my use of the tiny organism has been infectious.  So you could say I’ve been baking so much that I have a yeast infection (sorry, horrible pun).  So far I've made pizza, bagels, yeast dinner rolls, cinnamon rolls, kolaches, focaccia, and apple bread.  

My favorite so far has been the kolaches, so I’m going to share this one.
The Kolache is perhaps one of the greatest breakfast pastries known to man.   To the uninitiated a kolache is yeast bread, filled with fruit or meat and usually eaten for breakfast.  Throughout Houston a donut shop will not succeed if it chooses not to sell kolache (Krispy Creme has come and gone in the Houston Area).  When I was working for UPS my morning routine would almost always include a stop at Shipley’s Do-nuts on W. Mount Houston for a sausage and cheese kolache and a cinnamon twist.

Then there is Hwy. 70 between Columbus and Austin.  On that stretch of road there is both Hruzka’s and Weikel’s.  Both are Czech bakeries are known for their kolaches, meat and fruit filled.  Needless to say sometimes we will take that route to Austin from Houston, just to stop at one of those two bakeries
My grandma used to make the fruit filled variants when I was little, but personally I’ve always been a meat kolache man.  Fortunately here in Almaty, thanks to Bekker’s (the German Importer/Butcher), there are plenty of good sausages here.  I chose sausages that reminded me of little smokies, but in all reality you can use your favorite sausage.

Ingredients:

For the Yeast Starter

2 ½ Tablespoons yeast
2 cups flour
½ cup sugar
1/3 cup warm water (approx. 110°)
1 cup warm milk (approx. 110°)

The Dough:

2 egg yolks
¼ butter softened
¼ vegetable oil
¼ warm milk
1 ½ teaspoon salt
2 ½ cups of flour

The Filling:

20 little smoked sausages
American Cheese (optional)
Sliced Jalapeños (optional)

Process:

Mix the yeast, flour and sugar thoroughly in a very large bowl.  Add warm milk and water and blend until it is all incorporated in a sticky ubber-wet dough.  Cover and let rise for an hour and a half.


Before
After 1.5 hourse


Uncover and add all of the ingredients under the dough heading.  Using the dough hook on you mixer blend until the dough becomes a solid ball in the center of the bowl (approx. 7-9 minutes).
If you don’t have a mixer, blend the ingredients with a metal spoon, knead for 5 minutes on a floured surface until the dough becomes elastic and no longer sticks to your fingers.
Cover and allow to rise for another hour or two.*

After Kneading or Mixing
After Rising for 2 hours
While the dough is rising prepare your sausages.  Remove them from the packaging and remove any excess liquid.  Cut the American cheese slices so you can wrap each sausage completely with the cheese. 

Little Sausages and Processed Cheese 
Lay the sausage on top of the cheese


Cheese tenderly embracing the sausage
A pile of cheesy sausage


After the dough has risen prepare a plate of flour to keep your hands thoroughly floured while you form the little balls of happiness.  Also grease a cookie sheet or line it with parchment paper.

A well floured hand

With your hands thoroughly floured break the roll the dough into golf ball sized balls.  

A lovely little dough ball 

Once the ball is ready press the cheese wrapped sausage in the middle and begin to pull the dough over the sausage.  

All systems go!  Time to make a kolache!


Roll it in your hands until the dough completely covers the sausage and cheese.  Once the sausage is completely encapsulated place the little dough ball on the cookie sheet.


Sealed, formed, and ready for the baking sheet!

All lined up ready to go!
Once all of the kolaches are formed and on the cookie sheets and using a pastry brush (or your fingers) cover the tops of the dough balls with the egg wash.

1 egg & 1/4 cup water
Painted up like some godless Jezebel


Pre-heat the oven to 400°. 

Allow the kolaches to rise for another 30 minutes to an hour on the cookie sheet.  Then slip them into the oven and bake them for 15 or until the tops are golden brown. 

Nicely risen as they are placed in the oven

When they are golden brown, immediatly take them off of the cookie sheet and cool them on a wire rack.

Cooling down

These are best right out of the oven, but it’s not realistic to make them for breakfast. You would have to wake up a 4 in the morning to get them ready for an 8:00 breakfast.  So I like to make them on Sunday, and then keep them in the refrigerator for the following week for a quick and easy breakfast.  Or they can also be frozen for about a month.
A yummy cross section

*the amount of time that you let them rise can be adjusted to the type of breading you prefer.  For a denser kolache (like Kolache Factory) use the minimum rise times, for fluffier bread (like Shipley’s) use the longer rise times. 

Sunday, June 5, 2011

Buffalo Wings

One thing that we have missed this year have been buffalo wings.  Last spring when we were in Houston we had birthing classes every Tuesday night.  Tuesday, as it happens to be, is 50¢ wing night at Buffalo Wild Wings, and as luck would have it there was a BW3's on the way to our classes.  Needless to say, we enjoyed those wings almost every Tuesday for a month, until Lina decided that spicy fried chicken wings didn't really agree with her and the pregnancy heart burn was a little too much for Reada to take.

In the states it’s easy to get good buffalo wings, and even in Lima we had The Corner Sports Bar, Hooters, TGI Fridays, Chili's and Tony Roma's (none of which were great, but they could quench a craving).  But here in Venezuela we haven't been able to even find decent wings.  This is including TGI Fridays or Tony Roma's in Maracaibo, and to add insult to injury the Hooters in Maracaibo closed last September so we  never had the chance to try them.

A few weeks ago one store here decided to sell packages of just chicken wings, so I decided to attempt to make some myself.  I fried them up, made some sauce and they turned out quite tasty.  So the next time I went to the store, and they had chicken wings, I stocked up.  Since this was our last full weekend here in Venezuela, we decided to have a little buffalo wing party.

I have opted to create 3 distinct types of Buffalo Wings.

Medium - Traditional flavored buffalo wing

Hot - Traditional flavored buffalo wings with a bit more of a kick

Spicy Garlic - A mild wing with an extra shot of garlic


Wings

2 lbs Wings – aprox. 20
Oil for frying


Process:

Preheat the oven to 350°

Heat oil in a deep pan suitable for frying over high heat

Clean the wings, ensure there are no feathers attached.


Wings

2 lbs Wings – aprox. 20
Oil for frying


Process:

Preheat the oven to 350°

Heat oil in a deep pan suitable for frying over high heat

Clean the wings, ensure there are no feathers attached.  Pat the wings dry.


Carefully place the wings in the oil.  After 2 minutes lower to heat to ¾ heat. 


Fry for an additional 8 minutes, until the wings are golden brown


Remove the wings from the oil with a slotted spoon (I only have a spatula)


Place on a rack on top of a cookie sheet so that any residual oil drips off.  


Place the cookie sheet in the oven to keep the wings warm while you cook the next batch. 

Sauces

Spicy Garlic (very similar to BW3’s)

¼ cup Franks Red Hot Sauce
¼ cup Tabasco Spicy Garlic
¼ cup melted butter
1 teaspoon garlic powder
1 teaspoon  red pepper flakes

Medium

½ cup Franks Red Hot Sauce
¼ cup melted
1`tablespoon red pepper flakes

Hot

½ cup Franks Red Hot Sauce
¼ cup melted
1`tablespoon red pepper flakes
3 of your favorite pepper minced seeds and all

Process:

Blend all of the ingredients together in a bowl.


Keep warm and reserve for later.

Finishing the wings

Place 1/3 of the wings in a metal bowl and Pour the sauce over the wings and toss to coat.


Pour the wings onto plate While making sure your pour all the sauce over wings

Spicy Garlic
Medium


Hot
Serve immediately with celery and carrot spears, ranch dressing and blue cheese


Enjoy!


Sunday, May 22, 2011

Spaghetti Carbonara


We’re winding down our time here in Venezuela and need to clear out our freezer.  After a month drought with only the prepackaged inferior more expensive bacon available, good bacon returned to the deli of our favorite grocery store.  I saw some in at the store and picked up enough to last us for the remaining weeks.  Then a little later Reada went to the store and stocked up as well; so we have about 2lbs of bacon to get rid of before we leave in under 3 weeks.

Spaghetti Carbonara was always my favorite lunch special at a little Italian restaurant.  Although they used pancetta instead of bacon, they also added artichoke hearts, and on Wednesdays it came with shrimp mixed in the tasty concoction.  Now because I could get dish at Napoli’s for under $5.00 with a salad and a drink I never thought about making it myself.

A few months ago, I stumbled across a recipe for a Spaghetti Carbonara on delish.com thanks to a link from msn.com.  After a little research and experimentation I worked out a recipe that would work here. They also had mushrooms at the store, so I decided to throw them in the mixture as well.  Feel free to leave them out if you’re not a fan of the fungus!

Spaghetti Carbonara with Mushrooms

1 package spaghetti noodles
8 slices of bacon (cut into ½ inch pieces)
4 cloves of garlic (minced)
1 small onion chopped
½ lb mushrooms (sliced) – baby bellas or button
3 eggs (at room temperature)
¾ cup grated parmesan cheese (at room temperature)
¼ cup heavy cream (at room temperature)
¼ cup milk (at room temperature)
Black pepper and salt to taste

Process:

In a heavy skillet; sauté bacon until it is about ½ way cooked (2 minutes)


Add onions and sauté until they begin to become translucent.
Add mushrooms and sauté until most of the liquid is cooked out of them


Add garlic and sauté for an additional minute

Set to the side


In mixing bowl combine eggs, cheese, cream, and milk blend thoroughly and set to the side.


Cook your spaghetti following the instructions on the packet.

When the spaghetti is cooked, slowly whisk in a couple of pieces into the egg and cheese mixture.  (This raises the temperature and cooks the eggs and keeps them from scrambling.)  


Once about ½ of the pasta has been added, add the bacon and mushroom mixture then blend it all together in the original pot used to cook the pasta. 


Serve immediately.

Tonight I paired the pasta with parmesan garlic bread and the pan seared chicken breast that I made with the mushroom Alfredo on May 30th.


Enjoy!